Removal and installation of left trim panel assembly of instrument panel
Remove

-
Remove the left skin trim panel assembly of instrument panel. Refer to Removal and installation of left skin trim panel assembly of instrument panel
-
Remove the PAD mounting base shield assembly. Refer to Removal and installation of PAD mounting base shield assembly
-
Remove the central trim panel assembly. Refer to Removal and installation of central trim panel assembly
-
Remove the instrument panel cluster assembly. Refer to Removal and installation of instrument panel cluster assembly
-
Remove the glove box mounting base assembly. Refer toRemoval and installation of glove box mounting base assembly
-
Remove the left trim panel assembly of instrument panel.
-
Remove 6 fixing screws.
-
Carefully pry out the left trim panel assembly of instrument panel with a plastic pry plate.
CautionDo not apply excessive force during removal to prevent damage to connectors.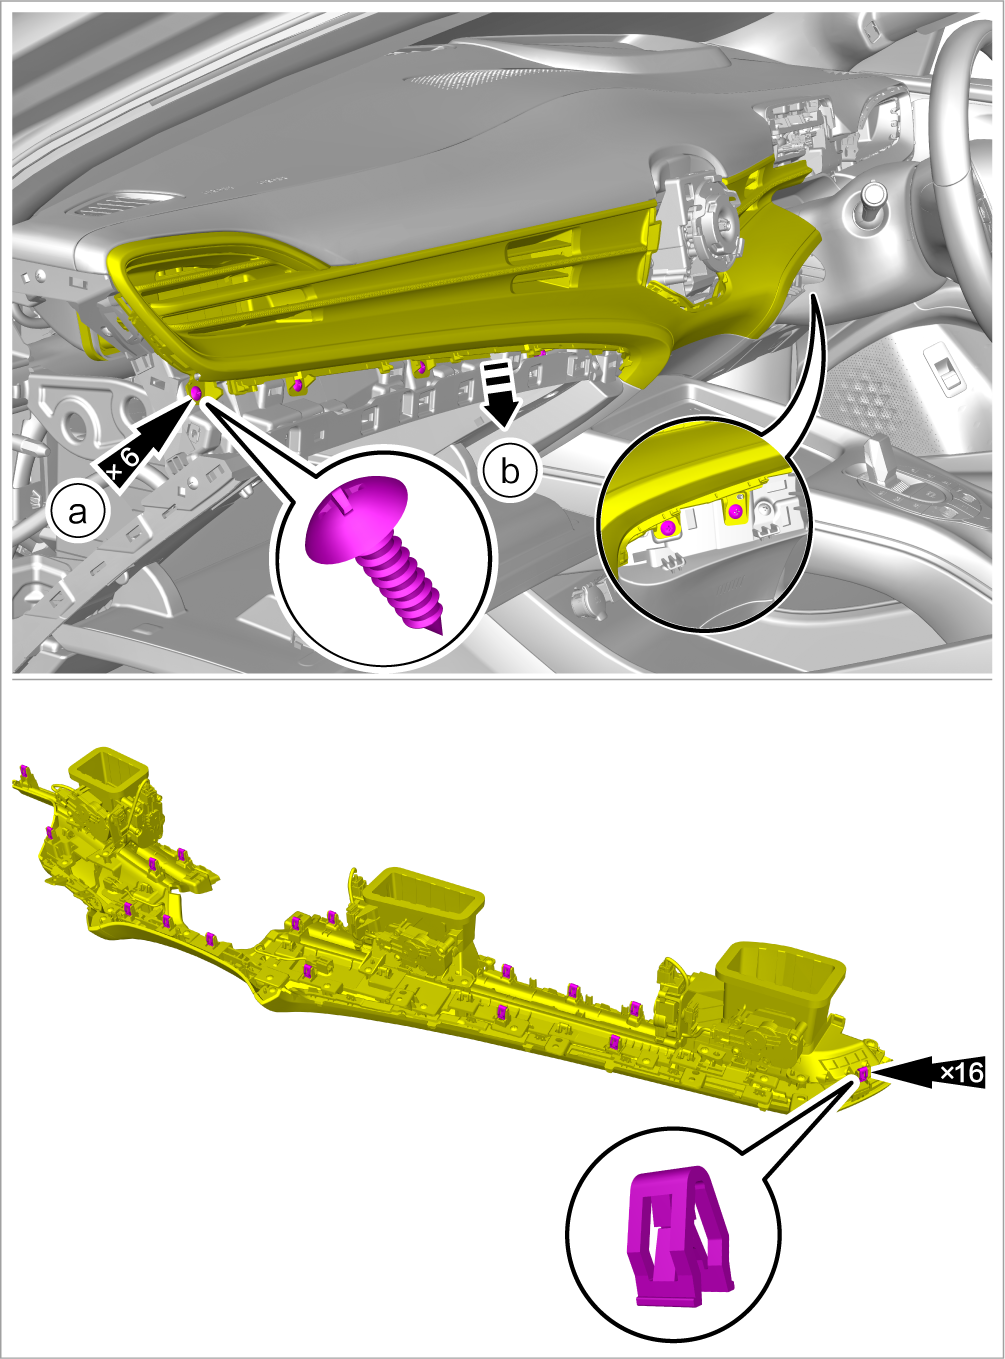
-
-
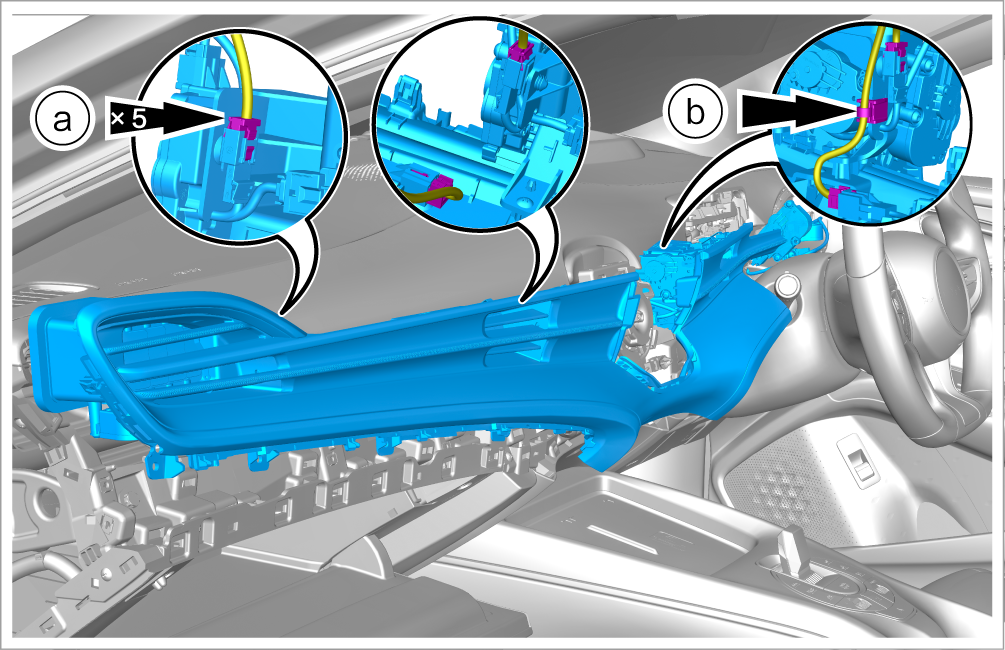
Remove the left trim panel assembly of instrument panel.
-
Disconnect 5 connectors.
-
Detach 1 wiring harness clip and take out the left trim panel assembly of instrument panel.
-
Install
-
Install it in the reverse order of removal.