Removal and installation of rear trim panel assembly of auxiliary instrument panel
Removal

Be careful during removal to avoid scratching the surface material.
-
Remove the rear vent panel assembly of auxiliary instrument panel. Refer to Removal and installation of rear vent panel assembly of auxiliary instrument panel
-
Power on/off the high-voltage electrical system. Refer to Power-off and power-on of high-voltage electrical system
-
Carefully pry out the rear trim panel assembly of auxiliary instrument panel with a plastic pry plate.
CautionDo not apply excessive force during removal to prevent damage to connectors.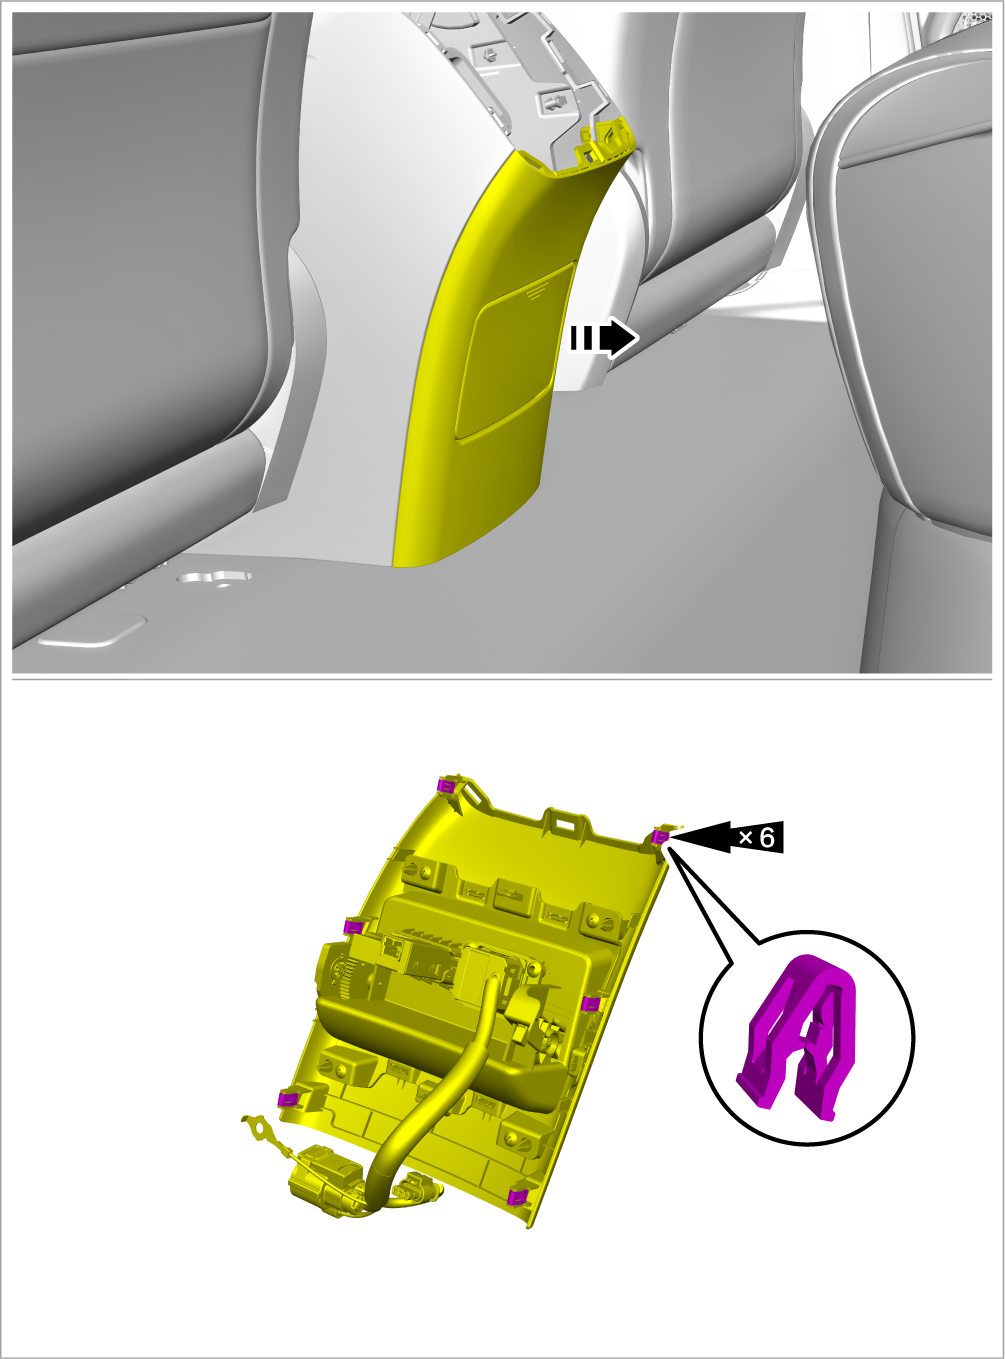
-
Remove the rear trim panel assembly of auxiliary instrument panel.
-
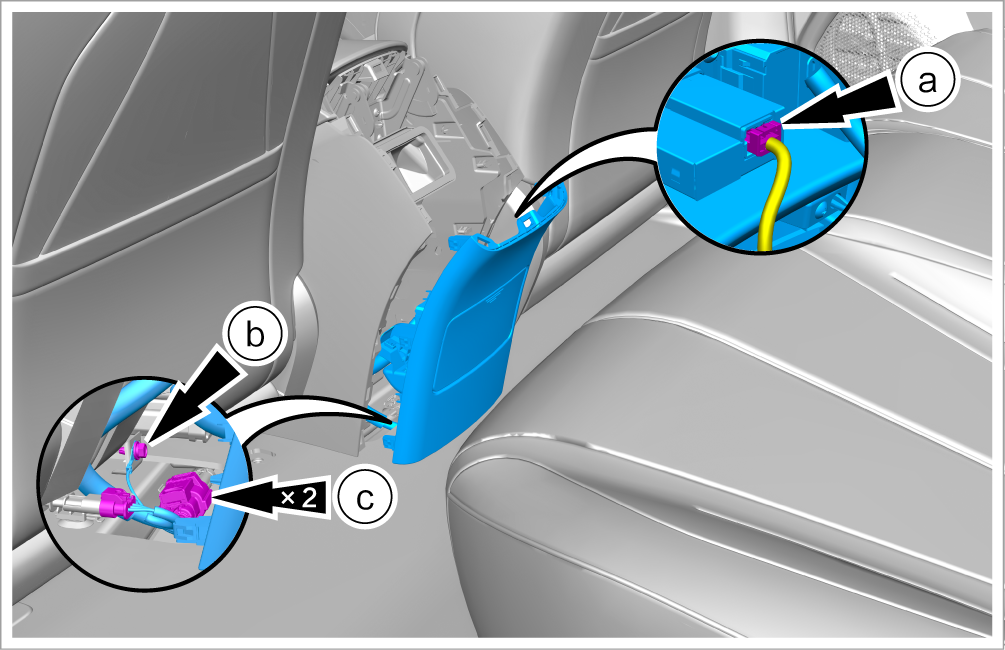
Disconnect 1 connector from the USB charging connector.
-
Remove 1 GND bolt from the interior socket subassembly.
-
Tightening torque: 9±1 N•m
-
-
Disconnect 2 connectors from the interior socket subassembly, and take out the rear trim panel assembly of auxiliary instrument panel.
-
-
To replace the rear trim panel assembly of auxiliary instrument panel, remove the following accessories from it:
-
USB charging connector. Refer to Removal and installation of USB charging connector
-
Interior socket subassembly. Refer to Removal and installation of interior socket subassembly
-
Installation
-
Install it in the reverse order of removal.